
How to Install Roll Roofing
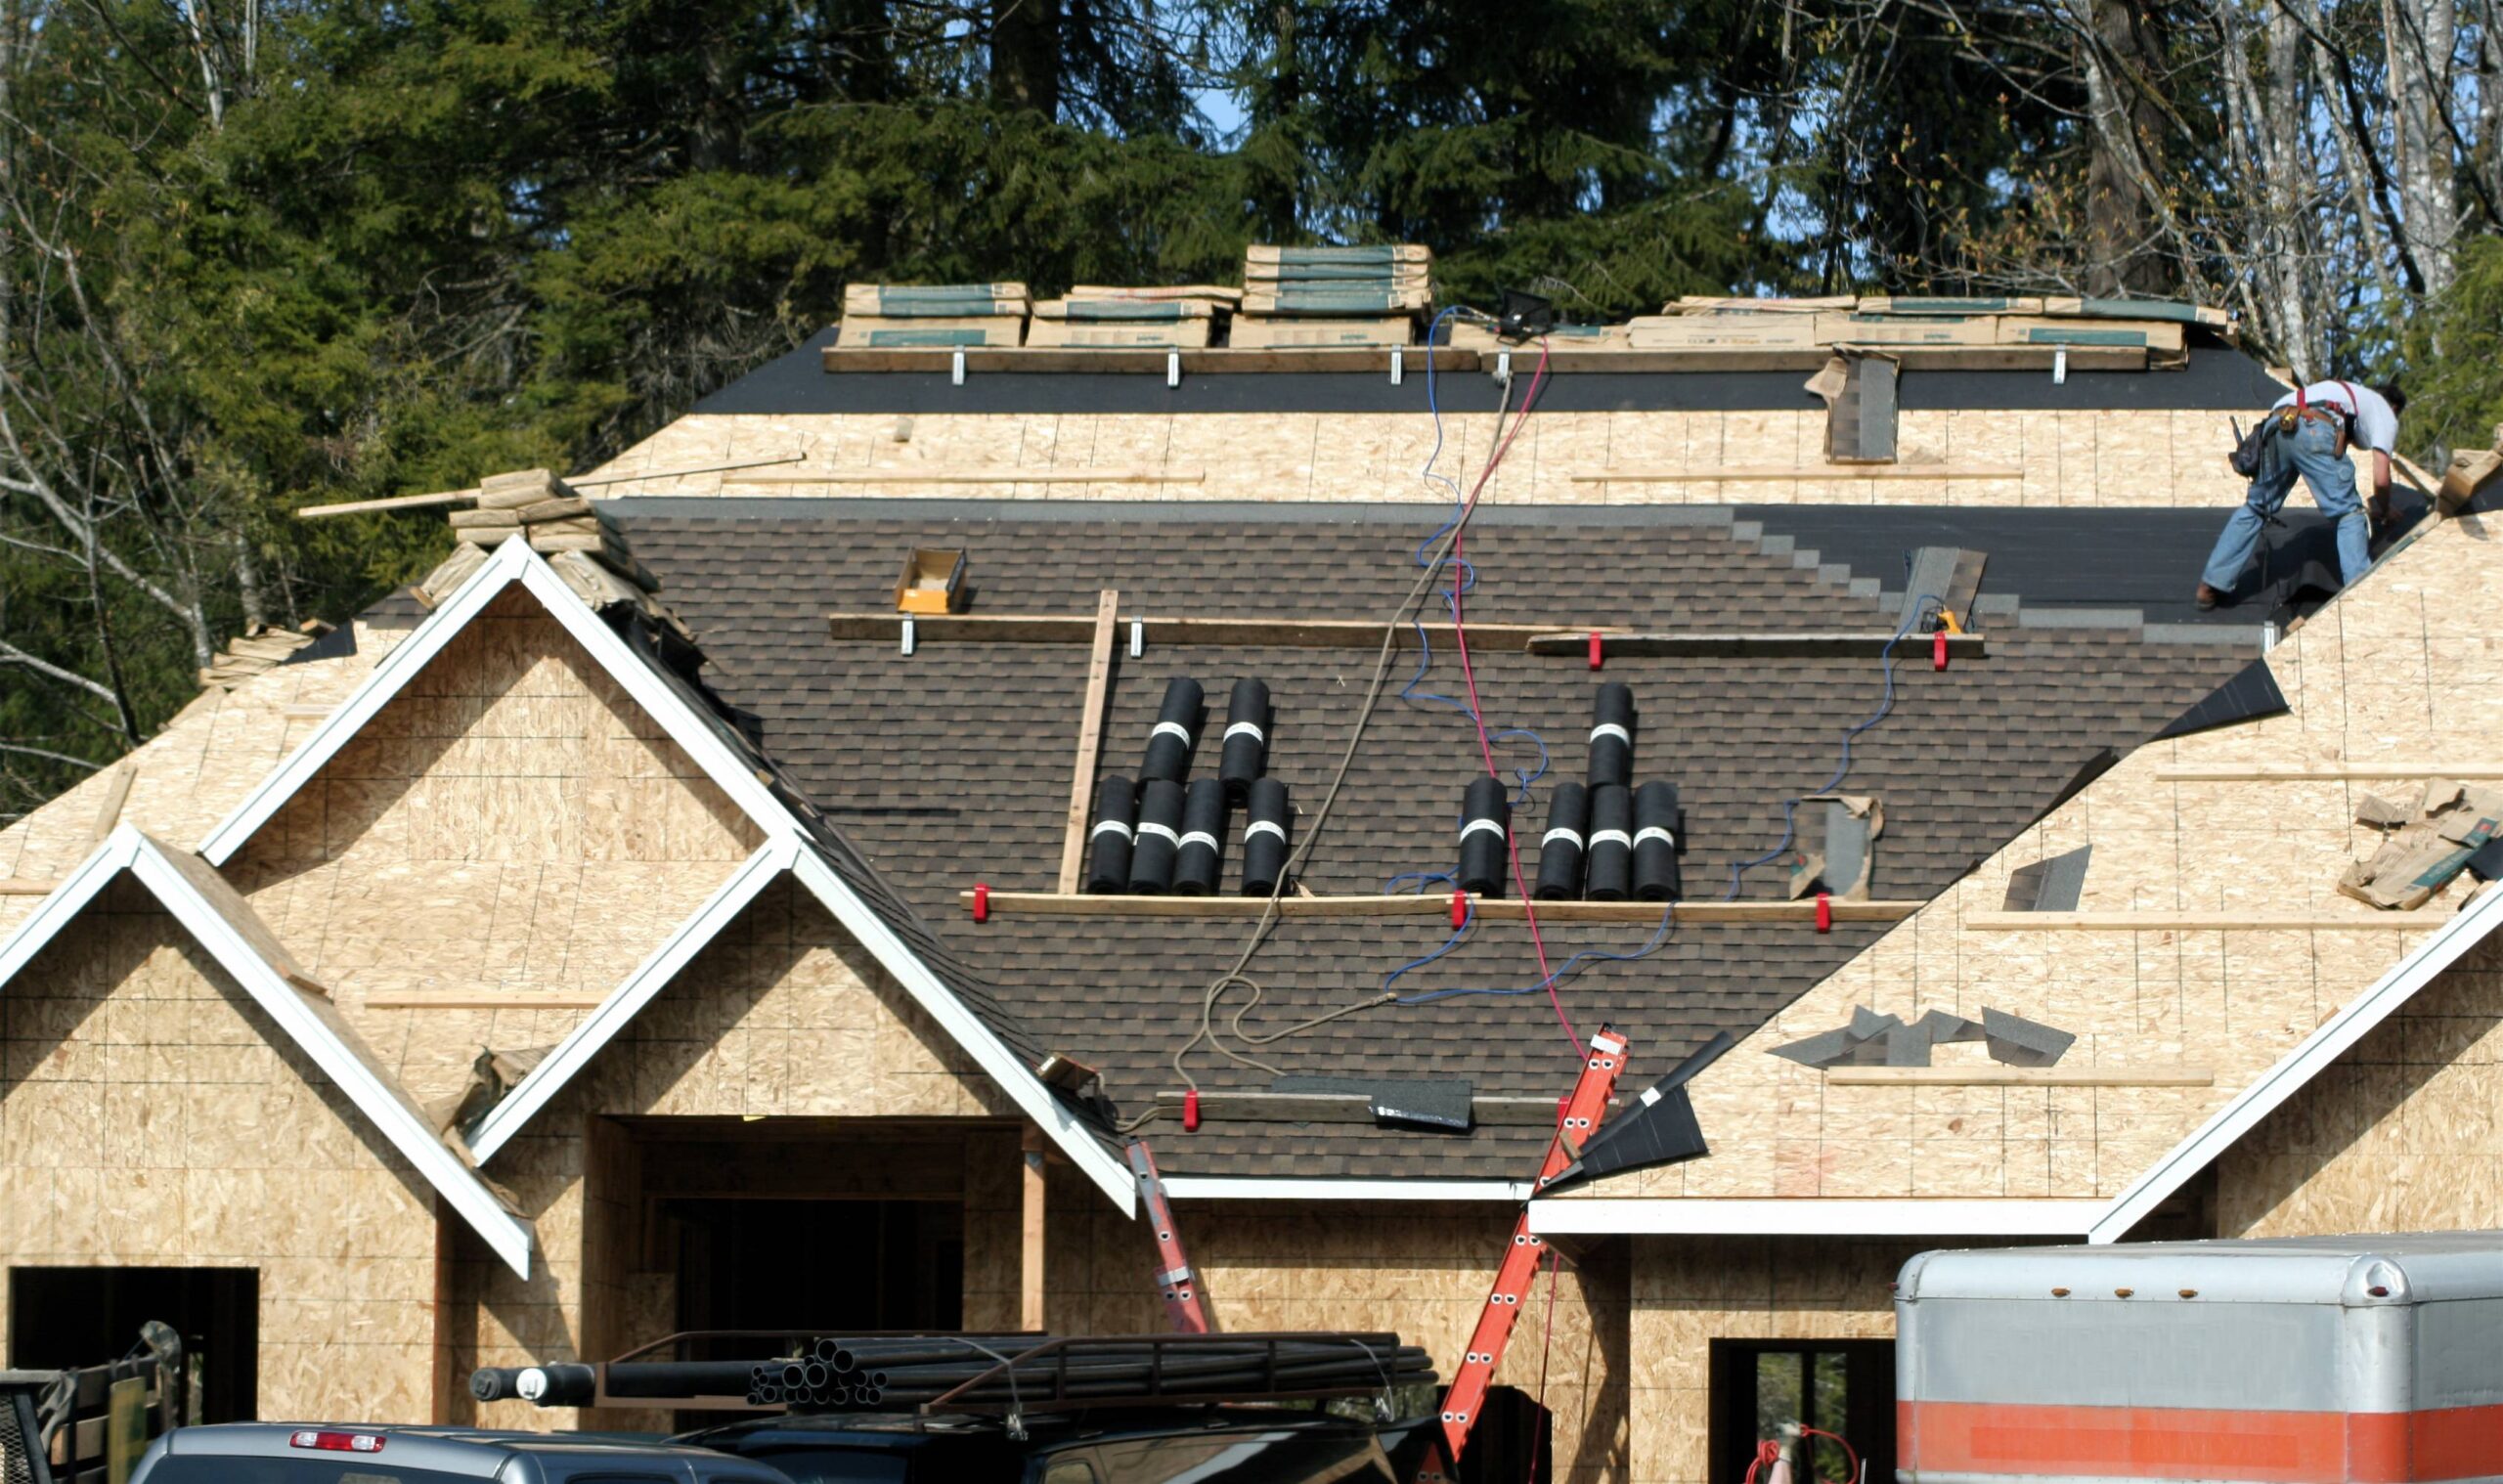
Roll roofing is a composite sheet that's much thinner than shingles. It's easier to transport to the roof than shingles and requires no heavy machinery like forklifts.
Start by cleaning the roof and removing any debris. Then, use a measuring tape and chalk line to identify the first row of the roof.
Preparation
Before installing roll roofing, make sure the roof is clean and free from debris. This will help reduce the chances of water penetration and prolong the life of your new roof. Accurate measurements are also essential to minimize waste and ensure a proper fit.
Overlaps are recommended for rolled roofing as they help seal gaps and minimize the chance of leaks. In addition, install drip edge flashing around the edges of your roof to further protect against water infiltration.
Keep in mind that rolls of roll roofing are heavy and need to be stored carefully until installation. It’s a good idea to cover them with a tarp to protect them from damage during storage and weather. It’s also important to store them in a dry place and to keep the stacks separated.
Tools
Roll roofing works well on patios, three-season rooms, sheds, gazebos, garages, barns and other functional structures. It also can be used to add a roof over an outdoor exercise structure or kids’ treehouse.
Before you start laying rolled roofing, measure the bottom edge of your roof and mark it with a chalk line. This will help you lay the first layer of roofing uniformly.
Use a utility knife to cut the first piece of rolled roofing to the right size. It should be about 35 inches wide and the length of your roof.
Once you’ve laid down the first layer of rolled roofing, hammer galvanized nails 6 to 10 inches apart across the roof length. Cover the nails with cement to further secure them and prevent water infiltration.
Underlayment
Before proceeding with the roofing installation, check for any sags in the roof that need to be fixed by shimming or filling. These can reduce the life of the rolled roofing.
Next, apply the first layer of underlayment. You can do this with a paintbrush or caulk gun. Make sure to get rid of any creases or wrinkles. You can also nail the first layer down with a hammer.
After the underlayment has been applied, install 9-inch cant strips along the rake and eave edges of the roof. Be careful not to lift the lower edge of the starter course while applying lap cement in cold weather or you could create future stress cracks or roof failure.
Nails
Unlike other roofing materials, roll roofing does not require an underlayment. It does, however, need to be secured with a hammer and galvanized nails. Nails should be placed six inches apart and about an inch from the edges.
Start by putting up drip edge trim and nailing it to the roof using a hammer. Next, apply the first sheet of rolled roofing to the roof and nail it down with the hammer and nails.
Continue the process with the rest of the roof, overlapping each row by 3 inches. When the roof is complete, walk over it and seal all nails with cement to protect against the elements. It should take about a day to finish this roofing project.
Cement
Before starting to install rolled roofing, you must clean the roof surface. Ensure that it is free of dirt, twigs, branches, and any debris that might damage the new roof. You should also sweep the surface to remove any loose particles that might fall off during construction.
Using a measuring tape, mark a chalk line 35 inches up from the bottom edge of the roof. You must have this line to guide your work as you apply the first course of roll roofing.
Scoop up some roofing cement and spread it with a trowel over the roof surface where you are going to apply the roll roofing. You can get this at your local hardware store. It is best to apply the cement in stages as you work along the roof surface.
Roll roofing is a composite sheet that's much thinner than shingles. It's easier to transport to the roof than shingles and requires no heavy machinery like forklifts. Start by cleaning the roof and removing any debris. Then, use a measuring tape and chalk line to identify the first row of the roof. Preparation Before installing…